DIY Beyblade Restoration Process
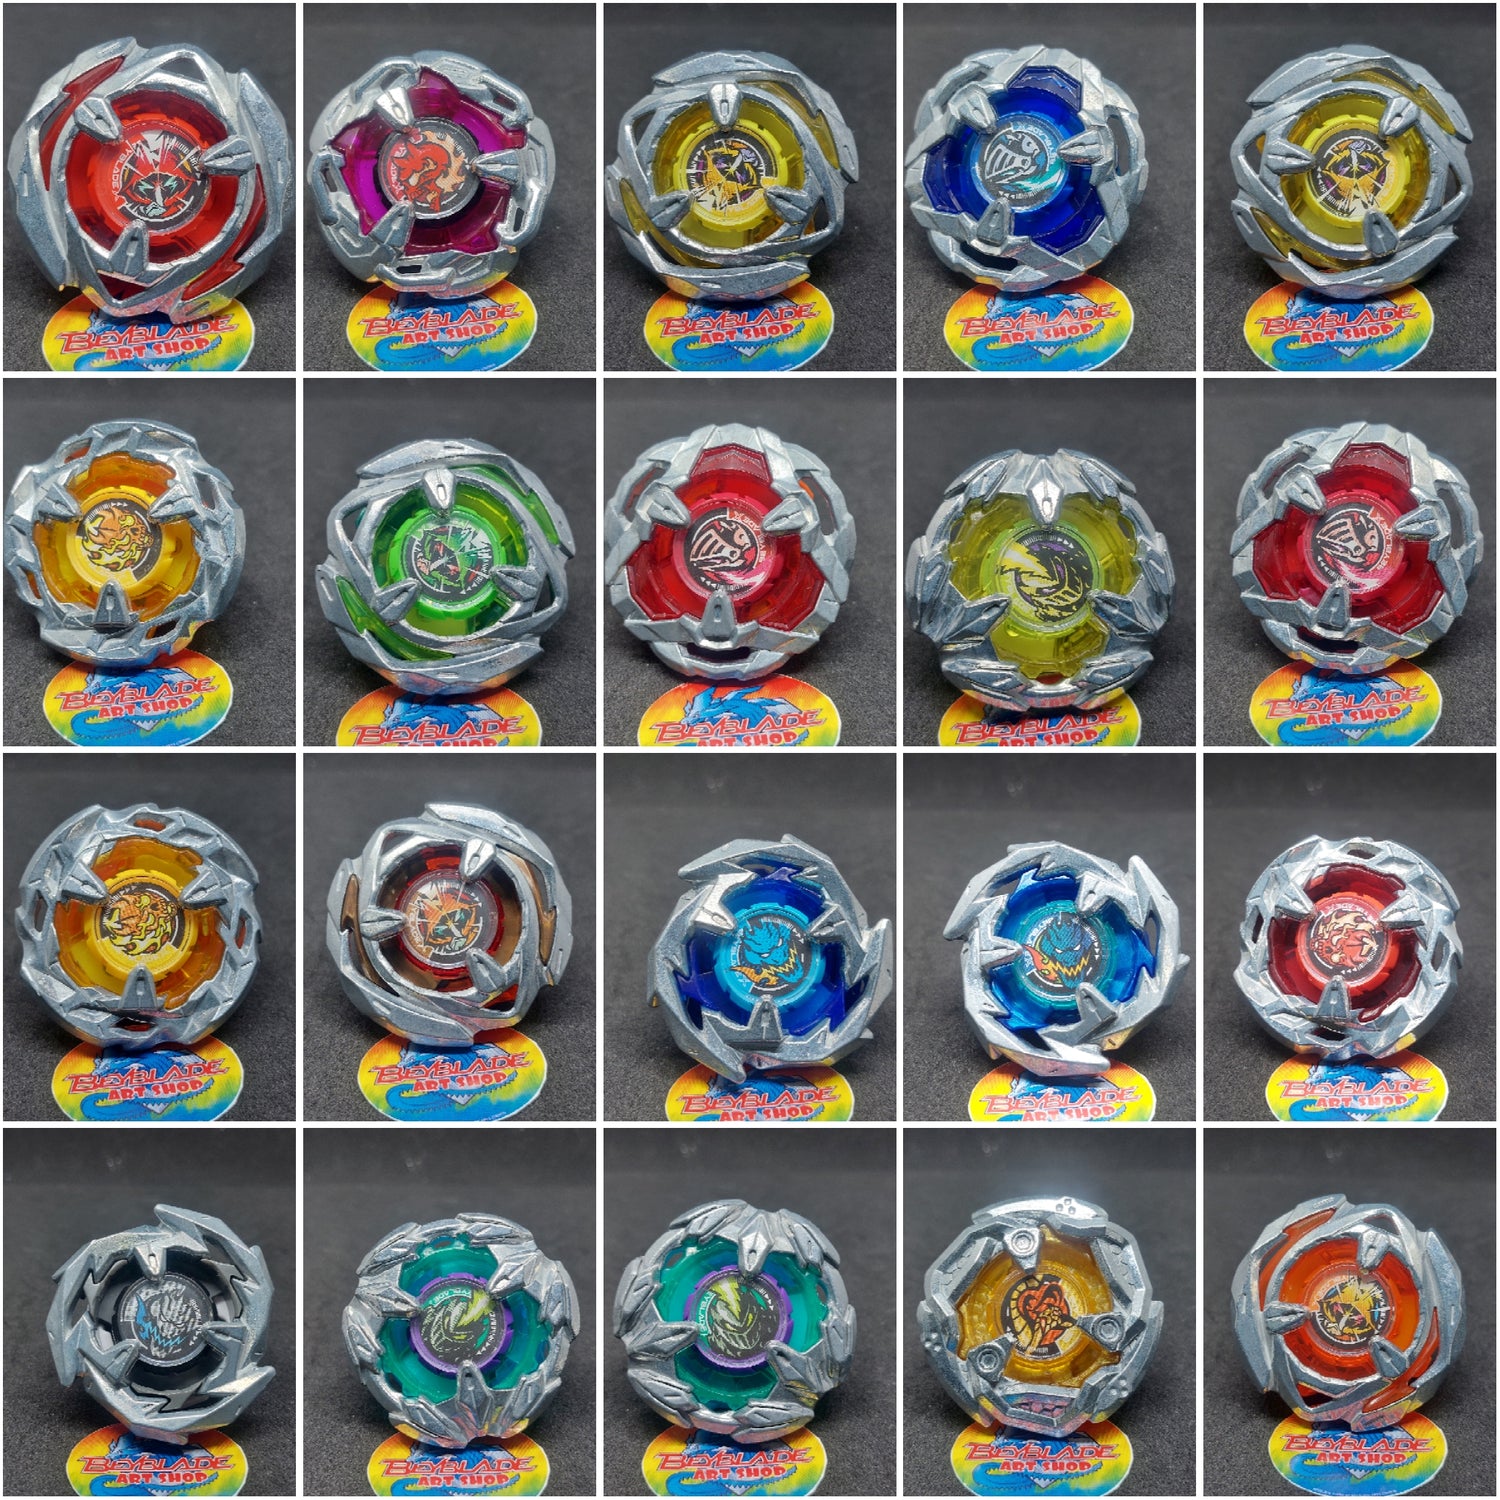
Tapan Suhas VhatkarAny Blader knows that these spinning tops are more than just toys—they’re a collector’s dream, full of nostalgia, memories, and personal battles. But over time, even the most cherished Beyblades can show signs of wear and tear. Whether you have a used plastic gen Beyblade, a Metal Fight Beyblade that’s seen better days, or a Burst model that could use a little TLC, restoring them to their former glory is not only a fun project but also a great way to keep your collection looking its best. Here’s a step-by-step guide on how to restore your Beyblade like a pro!
1. Condition Assessment
The first step is always to evaluate the Beyblade’s condition. Look for:
- Cracks or chips in the plastic or metal parts.
- Worn-out stickers or faded designs.
- Rust on the metal parts or wear from constant use.
- Loose or damaged components such as the spin track, bottom, or energy ring.
2. Cleanup Time!
Restoration starts with cleaning. Over time, dust, dirt, and even sweat from countless battles can accumulate on your Beyblade, affecting its performance and appearance. Here's how to clean it:
- Disassemble: Carefully take apart the Beyblade into its individual components For MFBs, that will mean the energy ring, face bolt, metal wheel, spin track, and performance tip. For plastic gen, it will be the AR, WD,
- Soak: Use warm water and a mild detergent. Let the components soak for 10-15 minutes to loosen grime and dirt.
- Scrub: Use a soft toothbrush or cotton swabs to scrub the parts gently, paying attention to intricate details where dust may have built up. For rust on metal parts, try using a rust remover or a small amount of vinegar to eliminate it.
- Dry: After cleaning, dry each part thoroughly with a lint-free cloth. Make sure there’s no moisture left, especially in areas with screws or small crevices.
3. Repair Cracks and Chips
If your Beyblade has cracks or chips, these can be restored with some careful repair work.
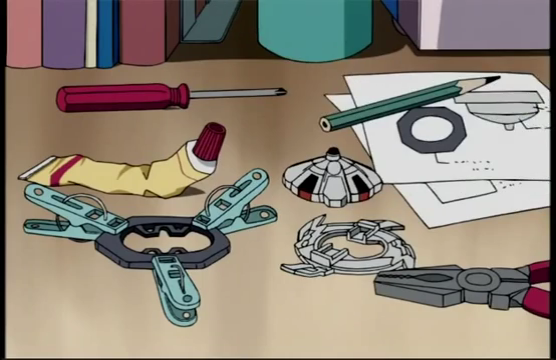
For small cracks or chips, you can use plastic epoxy glue or super glue. Apply a small amount to the damaged area and press the pieces together. Allow it to dry completely before continuing. This is ideal for repairing plastic parts.
If you’ve used glue, you can gently sand down the repaired area using fine-grit sandpaper to smooth out any uneven surfaces. Be sure to keep the surface level and avoid sanding off any of the original design or logo.
If your Beyblade has a metal wheel with dings or scratches, use a metal polish or a polishing cloth to buff out small imperfections. The same applies for any custom full-metal Beyblades you might be owning.
4. Sticker Replacement
Worn-out or damaged stickers are one of the most common problems for Beyblade restorations. Luckily, replacing them is a simple fix. If you’re restoring an older Beyblade, like a plastic gen or Metal Fight Beyblade, you can usually find replacement sticker sheets online or from specialized shops. For newer Beyblades, it’s often easier to get the original stickers directly from the brand.
The best part? We have high-quality repro stickers right here at Beyblade Art Shop! Check out our dedicated sticker sheets collection to find what you need, or get in touch to put in a custom request.
Gently peel off the old stickers and replace them with the new ones. Make sure to position them accurately to match the original design.
5. Lubricate Moving Parts
To ensure that your Beyblade spins smoothly, it’s important to lubricate certain parts. This can help reduce friction and improve performance, especially for older Beyblades that have been through many battles.
- Lubricate the Spin Track and Performance Tip: Use graphite powder or a small amount of silicone lubricant to coat the spin track and performance tip. Avoid over-applying the lubricant, as it can attract dirt and cause damage over time.
- Check the Bearing: For Beyblades with a bearing (such as bearing drive systems), apply a tiny drop of oil to keep it functioning smoothly.
That’s It!
Once all parts are clean, repaired, and lubricated, it’s time to put your Beyblade back together. You can reassemble it in the correct order now. The final step is to test your restored Beyblade. Set it up on your Beyblade stadium and give it a spin! Watch for:
- Stability: Does it stay stable during the battle, or does it wobble?
- Spin Time: Is it spinning for the expected amount of time, or is there a noticeable loss of speed?
- Performance: Does it perform as it used to? Any odd sounds or behavior could indicate that something isn’t right, and a second round of repairs might be needed.
Here are some additional tips that might be helpful:
- Custom Paint Jobs: If you’re feeling creative, you can give your Beyblade a custom paint job using spray paints or airbrush kits. Just make sure to protect the areas you don’t want painted (like the metal ring), and apply several light coats for a smooth finish.
- Replacement Parts: If any of your Beyblade’s parts are beyond repair, you can source replacement parts online or from sellers who specialize in Beyblade collectibles.
- Display Your Beyblade: After restoring, you might want to display your Beyblade proudly. Consider purchasing a display case or stand to keep it safe while showing off your hard work.
